


Winter in Oregon is a truly enchanting season, when snow blankets the mountains and thunderstorms crash against the coastline. While many of us spend this time indoors, sipping hot cocoa and catching up on Netflix, there’s another group of adventurers who set their hot toddies down and venture outside during these cooler months. Not only that, they set up tents and sleep out there, too. So who are these people? And what does it take to become one of them?
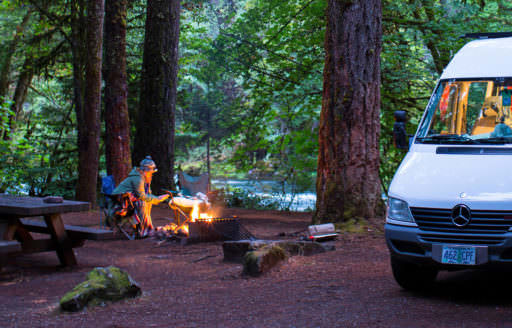
Here’s the good news: Winter camping isn’t quite as complicated as it sounds. You just need the right gear, prep time and an adventurous spirit. After that, you’ll be rewarded with a unique type of outdoor experience that summer rarely offers.
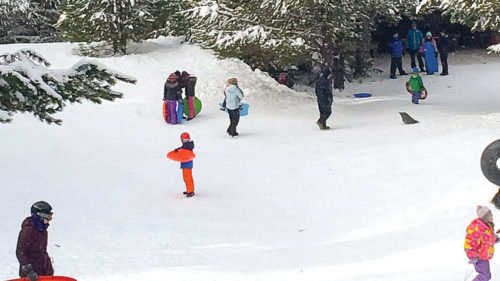
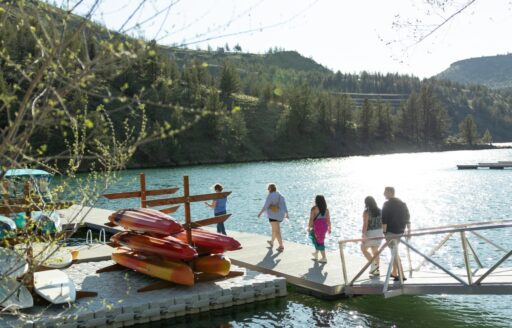
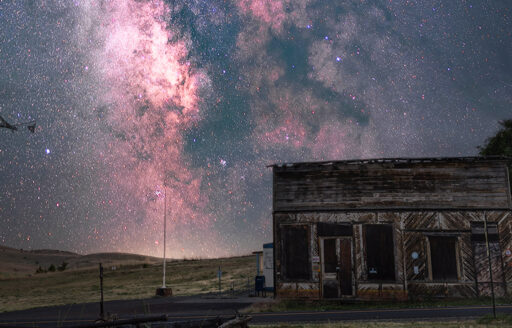
“There’s a special kind of quiet that you can only find in the wintertime,” says Britany Robinson, editor for The Dyrt. “Since fewer people are willing to venture outside, you’re likely to have a winter wonderland all to yourself.”
Step 1. Get Ready for Rain or Snow
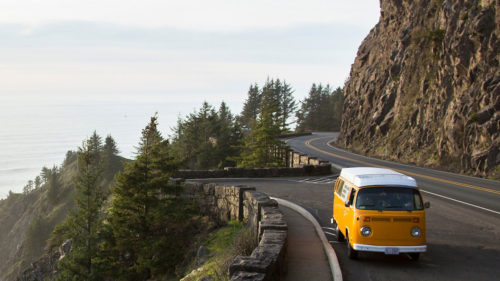
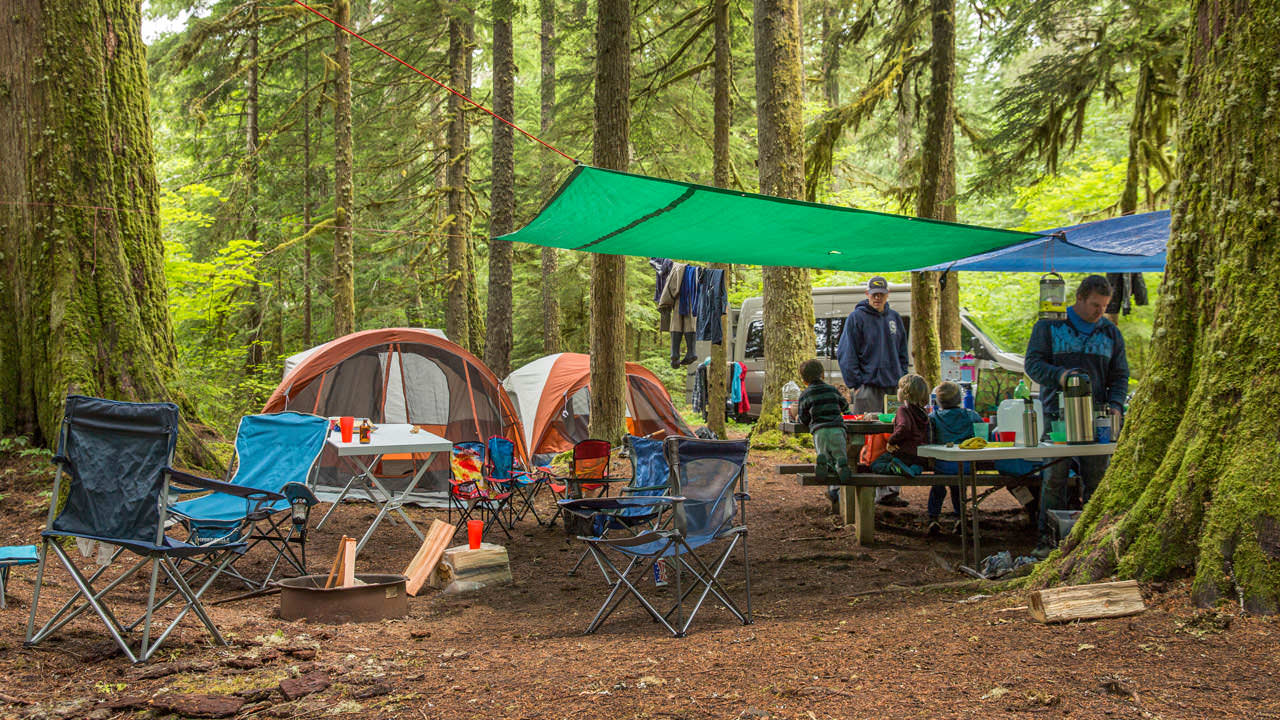
The great thing about Oregon for first-time winter campers is that it’s not all about snow. There’s plenty of camping along the Coast and in the Willamette Valley where you can soak up the winter scenery in more temperate climes. In these cases, all you really need is good rain gear.
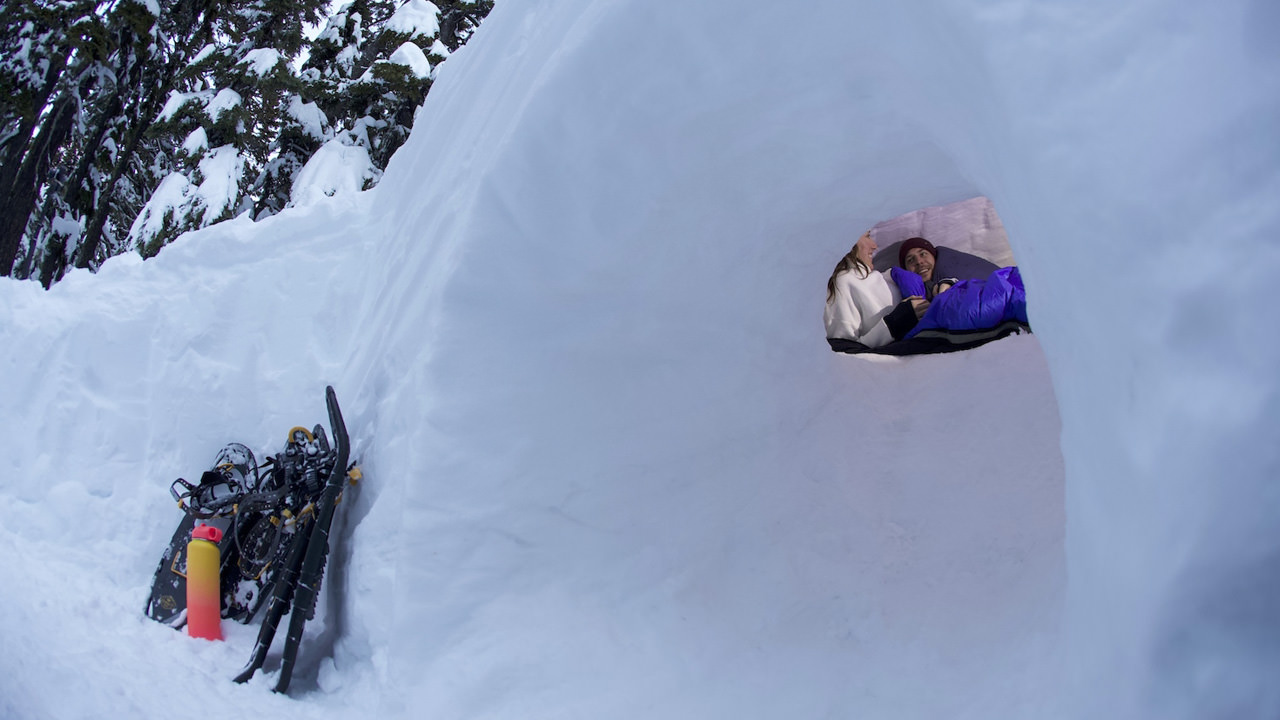
If you do decide to brave the white stuff, you’ll want to take an avalanche awareness course first. Typically, snow camping will involve parking at a sno-park trailhead and hiking or cross-country skiing to the site where you’ll camp. Sometimes there are backcountry shelters available; more often, you’ll simply pitch a tent in the snow.
If it’s your first time, you’re well advised to take a guided trip before venturing out on your own. Wanderlust Tours operates in Central Oregon, Rare Earth Adventures near Crater Lake and Wallowa Alpine Huts in Eastern Oregon. Workshops can also help get you up to speed: Portland-based Mazamas offers a Snow Series with helpful winter recreation clinics, and REI hosts winter-camping workshops at its various Oregon locations.
Step 2. Choose Your Destination
Once you’ve chosen what type of experience you’re after, find yourself a destination. If you don’t know already, you’ll quickly learn that each corner of Oregon has its own distinct characteristics. Here’s a sampler of some favorite spots to get you going.
Twin Lakes (Mt. Hood & the Columbia River Gorge)
Go for: Mountain lakes, snowy forests, winter tent camping
These picturesque alpine lakes, which can be accessed via Frog Lake Sno-Park, are located in the Mt. Hood National Forest about 7 miles south of Government Camp. From Frog Lake, it takes about an hour to make the 2-mile hike via snowshoe or cross-country skis. The trek is beautiful, although the trail is ungroomed, so prepare for moderate exertion.
Harris Beach State Park (Oregon Coast)
Go for: Drizzly coastline, crashing waves, heated yurts
If snow camping doesn’t interest you, Harris Beach State Park is a great winter getaway where you can experience nature in a wet, coastal climate far from the mountains. The scenic state park, located in Brookings, features six cozy yurts near the ocean, and several dozen RV hookups and tent sites. The campground is equipped with hot showers and flush toilets.
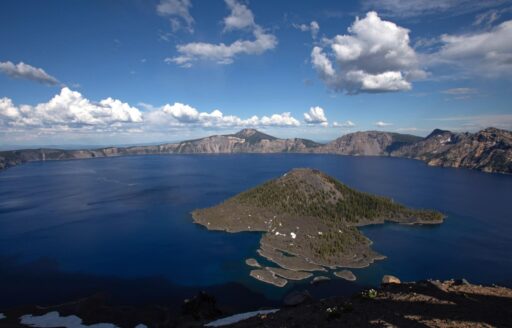
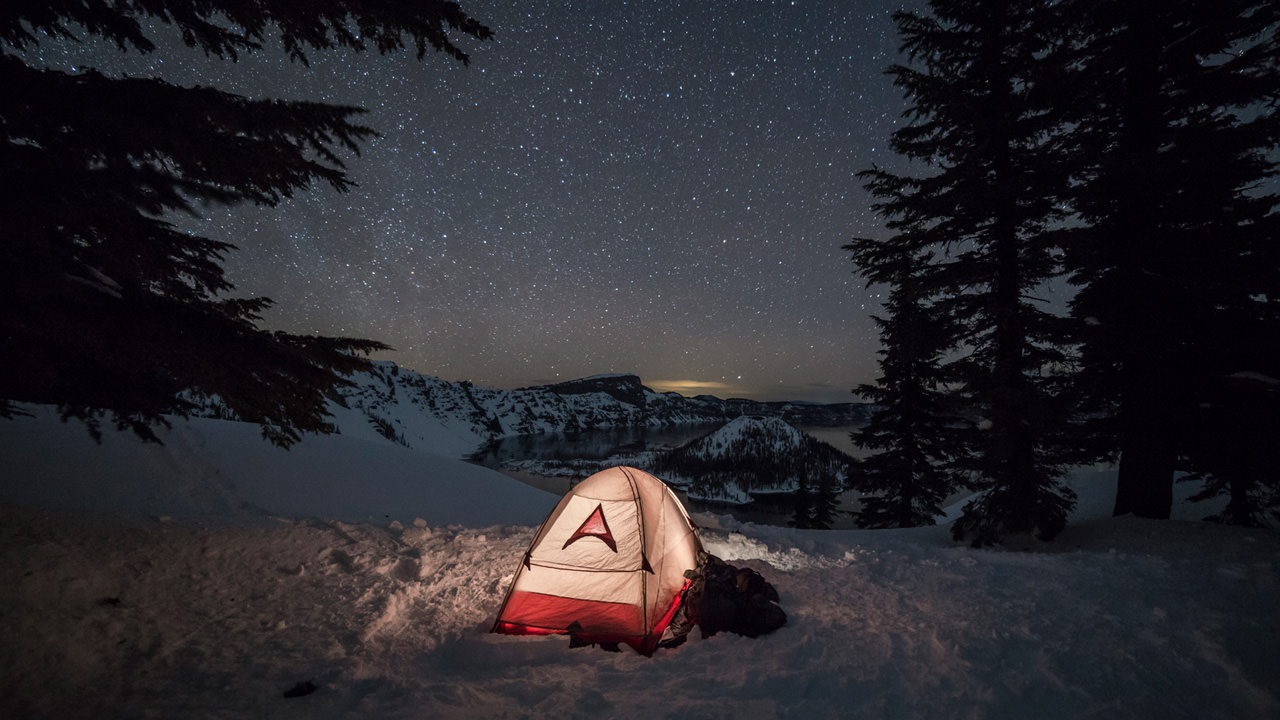
Crater Lake National Park (Southern Oregon)
Go for: Snow-covered trails, crater views, backcountry tent camping
Crater Lake National Park is an iconic Oregon landmark, and in the wintertime rangers close the famous Rim Drive to automobiles, creating a scenic snowshoeing and cross-country skiing trail. It’s a great spot for intermediate to advanced winter campers to soak up views of the caldera. Camping is permitted 1 mile from all of the main roads and 100 feet from the edge of the rim.
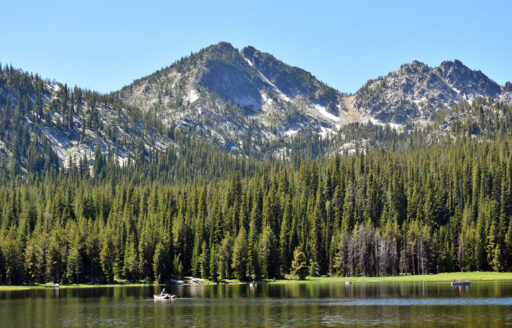
The Wallowas (Eastern Oregon)
Go for: Snowy mountains, vast wilderness, backcountry saunas
Few places in Oregon are as pristine or as mesmerizing as the Wallowas in wintertime — aka “Little Switzerland.” To experience it, beginner campers can rent yurts at Wallowa Lake State Park with drive-up accommodations featuring bathrooms and hot showers. More adventurous explorers can trek to the privately owned Wallowa Huts in the Eagle Cap Wilderness Area. The spacious backcountry yurts are outfitted with saunas, wood stoves, lanterns and other amenities.
Champoeg State Heritage Area (Willamette Valley)
Go for: Rainy, lush forests; historic sites; warm yurts
In addition to its connections to Oregon history, Champoeg State Heritage Area provides you with lovely winter-hiking opportunities through forests and wetlands. It features a pumice-like cinder trail where you can glimpse a pioneer woman’s grave or watch migratory birds swoop by the cottonwood trees. The area is rainy but rarely gets snow. Choose from year-round yurts, cabins and tent sites.
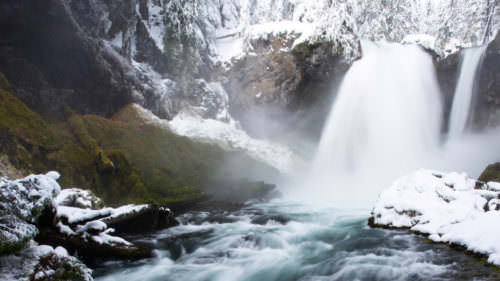
Newberry National Volcanic Monument (Central Oregon)
Go for: Snow-capped rock formations, wintery trails, rustic cabins
Covered in blankets of snow with a rushing waterfall and geologic rock formations, the Newberry National Volcanic Monument is a stunning winter spectacle. Campers can hike into Paulina Lake Lodge, which has rustic cabins with kitchens, bathrooms and firewood. The backcountry huts are located about 3 miles from the Ten Mile Sno-Park in La Pine, where you can journey via snowshoe, cross-country skis or snowmobile. On Fridays and Saturdays, the lodge offers a snowmobile shuttle.
Willamette Pass (Willamette Valley)
Go for: Pristine snowshoeing, pine trees, backcountry huts
Known for its deep-powder skiing, Willamette Pass also offers beautiful snow-camping opportunities during the winter months. The wilderness area features seven backcountry warming shelters, six of which permit overnight camping if you want to stay inside. (Some shelters are temporarily closed, so check before you go.) The only drawback is that the shelters are available on a first-come-first-served basis only.
Step 3. Learn a Few Pro Tricks
It helps to know some tips and tricks once you’re in the wild, snow or no snow. I reached out to to Meghan Young, co-founder of PNW Outdoor Women, and Courtney Braun, naturalist guide at Wanderlust Tours for some tips. Here are some things they recommend.
Bring more food than you think you need. Your body burns more calories trying to stay warm than it normally does, so you’ll need extra food in the winter. Plus, you’re more likely to run into unexpected scenarios that might add an unexpected night to your itinerary.
Use a Nalgene like a hot water bottle. To add extra warmth to your bed at night, boil water right before you go to sleep and put it into a Nalgene. The heat will help keep you warm throughout the night, and as a bonus, you’ll have sterilized drinking water in the morning. Just make sure the bottle is completely sealed.
Keep your nose and mouth outside your sleeping bag. It’s natural to want to bury your face in your sleeping bag on extra cold nights but this actually lowers the temperature in the bag. “As you exhale you release moist air into your sleeping bag, causing it to cool down,” explains Young. Instead, use a balaclava or face buff.
Stay hydrated. When it’s cold outside, you’re less likely to feel thirsty, but your body is working extra hard to stay warm, so be sure to hydrate. Similarly, don’t forget sunscreen — another thing that often feels counterintuitive but is in fact very important.
Never eat snow. It may be tempting when you’re thirsty, but this doesn’t actually quench your thirst, and your body expends lots of energy warming it up. “If you are thirsty, stop and melt some water,” advises Braun.
Eat carbs before bed. It’s easier for your body to stay warm than to get warm, so eating a sugary snack or other carb-heavy foods will temporarily spike your body temperature, allowing you to enter your sleeping bag extra warm. You can also take a short walk or do jumping jacks — anything to get your blood circulating before you get in your sleeping bag.
Keep batteries warm in your pockets. Cold temperatures sap the life from batteries, so keep your cellphone and other battery-operated devices in warm pockets to protect your battery life. This is especially important if you have battery-operated medical devices or emergency equipment.
Step 4. Start Packing Your Gear
Whichever type of excursion you choose, there are certain items you’ll need.
Don’t have any gear? REI is a great place to find new gear statewide, and both Next Adventure and Foster Outdoor in Portland offer large selections of used equipment if you’re on a budget; you can also rent gear at the PSU Equipment Rental Center, with discounted rates for certain PSU students. In Bend, you’ll find new items at the Mountain Supply of Oregon and a mix of both new and used items at Gear Fix. Eugene has new camping equipment at Backcountry Gear and you can find similar outdoor items at Blue Mountain Outfitters in La Grande. Camping gear is something you can start with slowly and acquire little by little.
Here I’ve rounded up simple winter-camping checklists, by category:
Clothes: Waterproof rain jacket; insulated down jacket; top and bottom base layers; waterproof rain pants; dry camp clothes (several pairs); lots of warm socks (Merino wool); insulated camp booties; warm, insulated winter boots; waterproof gaiters; warm, waterproof gloves; warm hat; balaclava; hand warmers; sunglasses; goggles
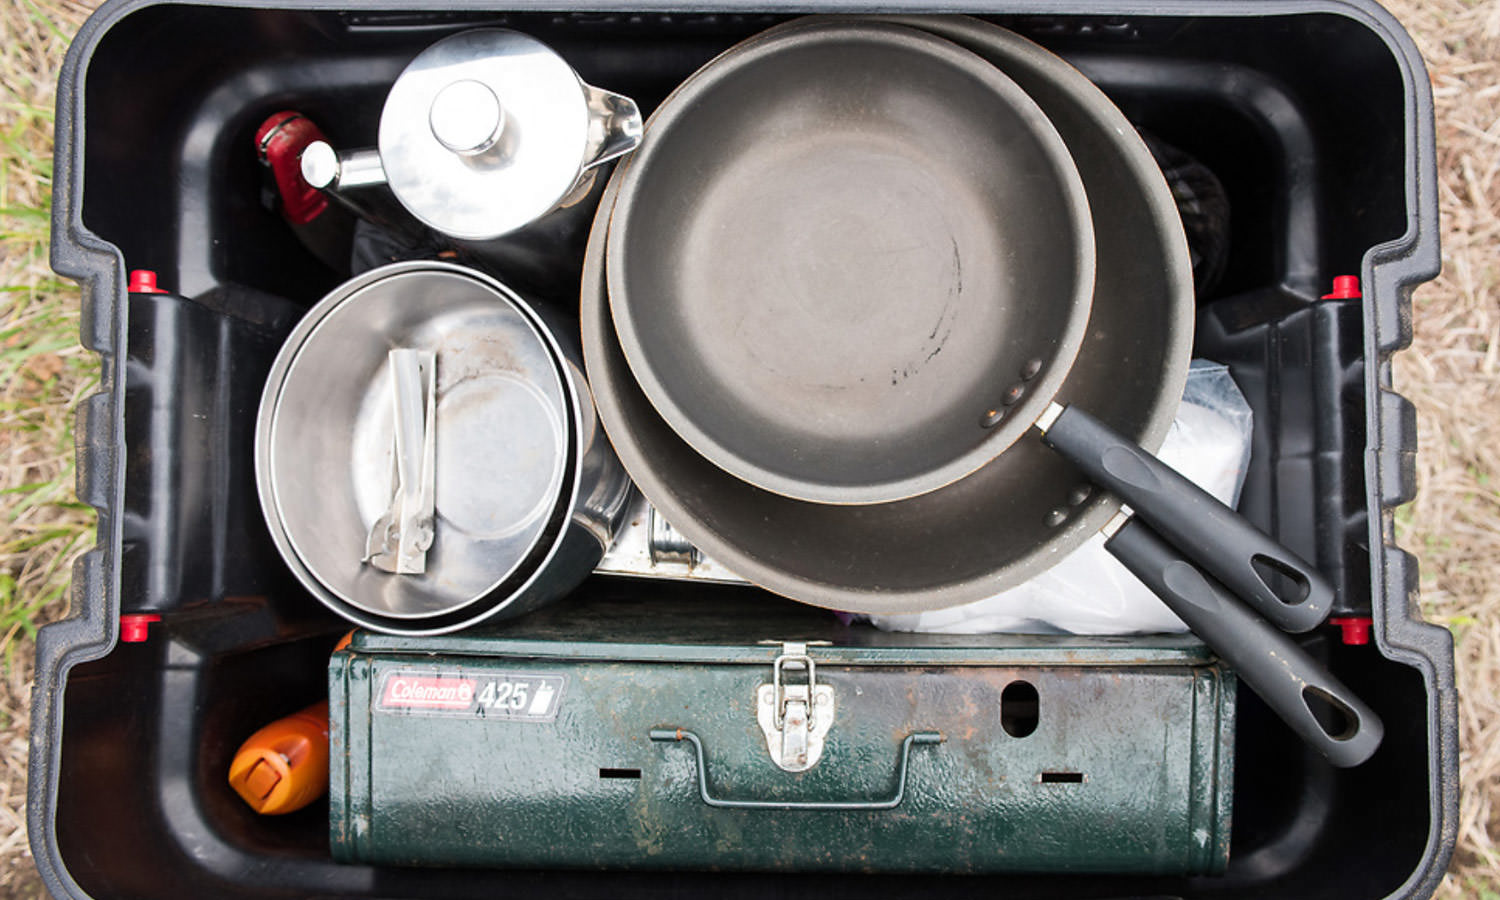
Gear: Backpack; winter tent; cold-weather sleeping bag; sleeping pad and pillow; waterproof tarp or footprint; camping lantern; camp stove and fuel; camp cookware; water bottle and filter; vacuum-insulated thermos; food and water; personal toiletries; sunscreen and lip balm; hand sanitizer; quick-drying hand towel; toilet paper or bathroom kit
Emergency and navigation: Headlamp with extra batteries; knife or multitool; map, compass, whistle and mirror; first-aid kit; fire-starter kit; emergency bivvy or reflective blanket
For snow camping: Snowshoes or cross-country skis; trekking poles with snow baskets; avalanche gear, personal locator beacon and shovel