


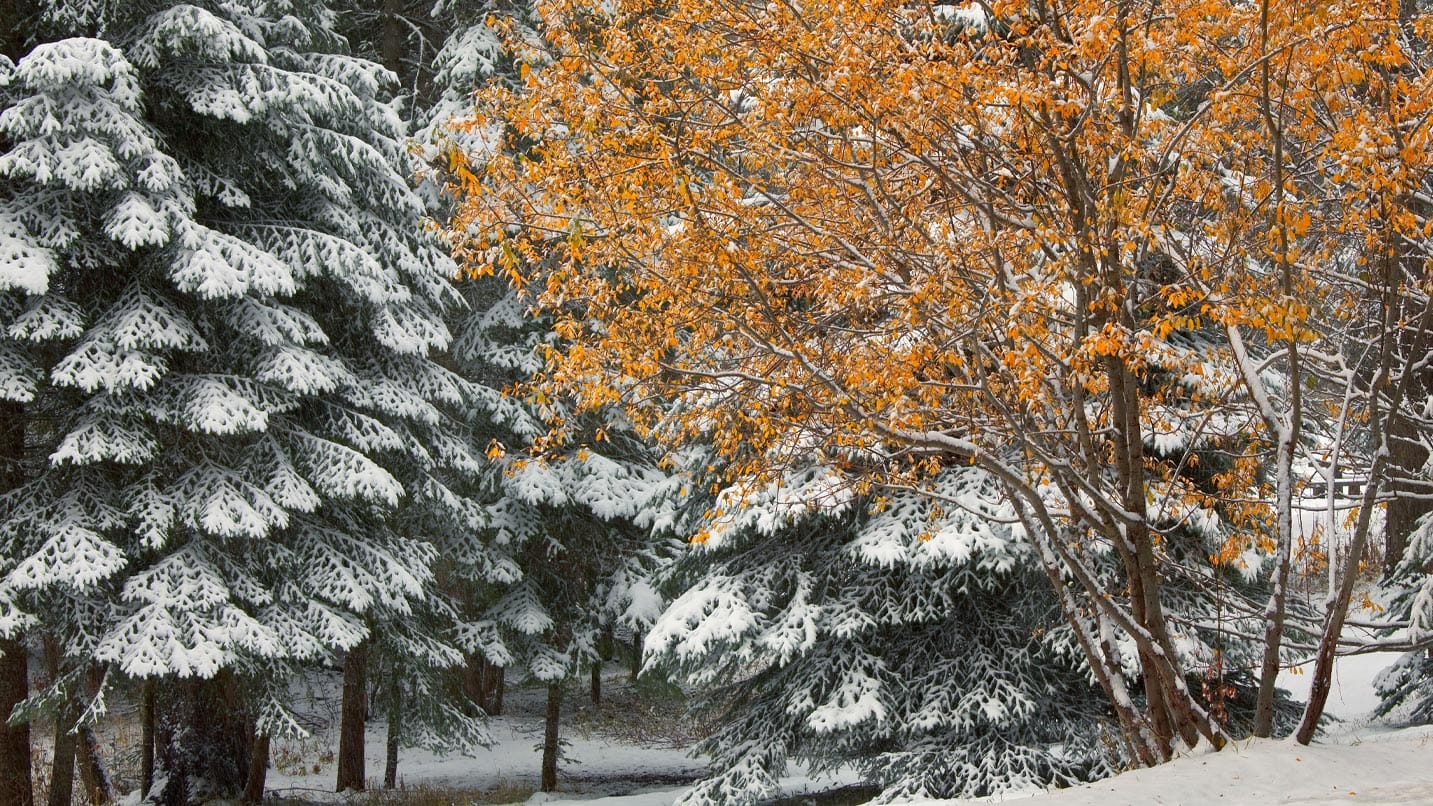
Snow-dusted firs frame winter scenes in Eastern Oregon’s Blue Mountains. Fat, fluffy snowflakes drift through the air and land on already heavily laden conifer branches. But even with these particularly photogenic possibilities, it’s easy to snap a shot that ends up being too dark and underexposed. And I know, because I’ve been there as an Eastern Oregon wilderness photographer who has made plenty of mistakes in these challenging conditions. If it’s your first winter-photography excursion, try these simple camera tricks that improve images even with a simple phone camera.
Setting Up a Great Shot
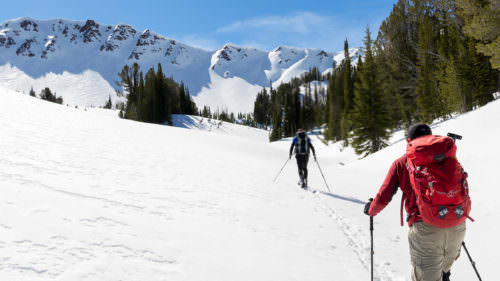
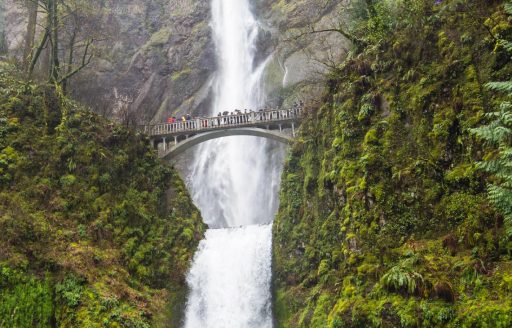
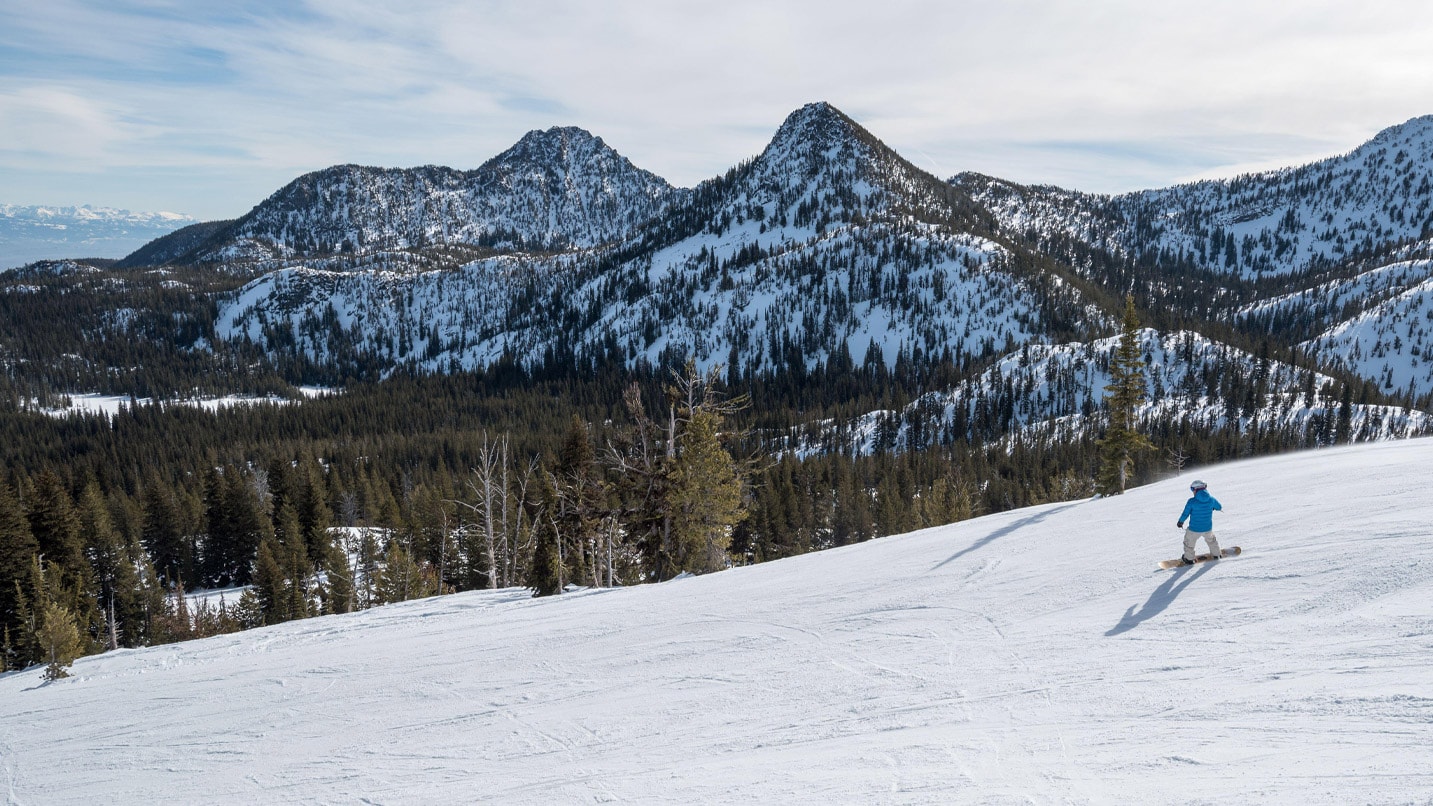
The secret of capturing a snowy scene lies in what you’re photographing. When trying to find the perfect wintry composition, look for a subject that is framed by something such as snow-covered trees or a strong subject like a lone tree or mountain. With rolling hills or multiple mountain peaks in your frame, seek out ways to show the layering of textures.
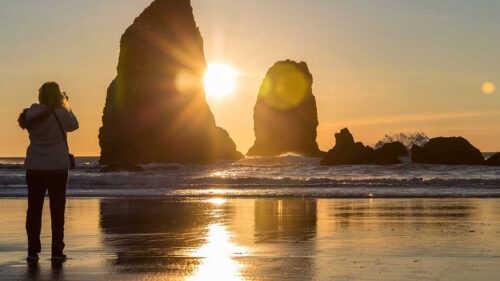
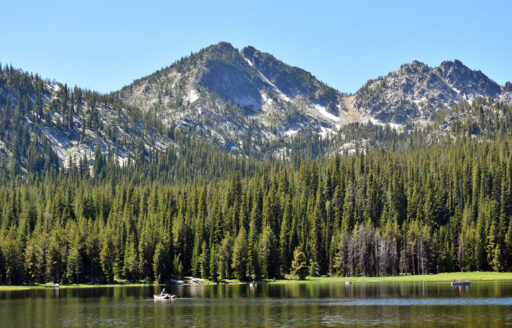
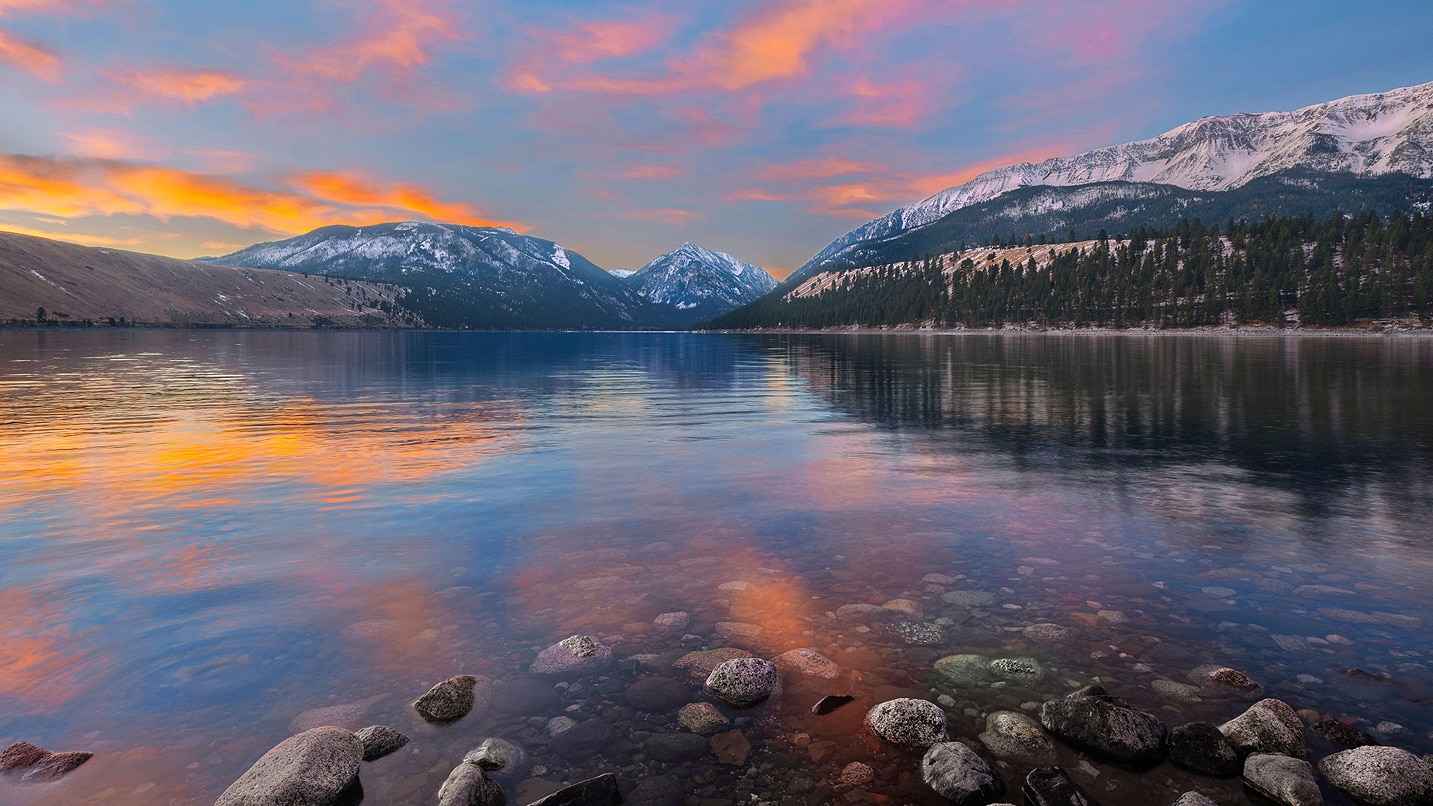
Timing is also crucial. Plan to take your photos in the morning or evening, or during active snow. Avoid photographing snowy scenes during midday when the lighting is harsh, and take advantage of cloudy days as they will have the softest light. Mountains are best photographed at sunrise and sunset. You can find a particularly stunning sunrise at Wallowa Lake on the northern lakeshore, which faces Chief Joseph Mountain, Bonneville Mountain and other surrounding peaks.
Understanding Winter Landscapes
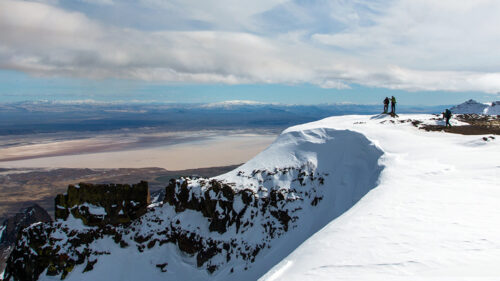
Winter landscapes are usually high-contrast scenes, meaning that they have both bright and dark colors such as dark-green conifers with bright-white snow. The lighter components of a photo are known as highlights and whites, and the darker as shadows and blacks. How bright a photo appears depends on the photo’s exposure, or the amount of light that is reaching your camera’s sensor. The good news is you can manipulate the way a camera takes in light, even if you don’t know much about manual settings.
In high-contrast scenes, you may notice the exposure of the photo changing depending on where you focus on auto-focus settings. This is due to how your camera is metering the scene and can be used to your advantage. Tap around your phone screen to watch the exposure change and make a selection that has your subject in focus with the most desirable exposure. Proper exposure is especially important for mountain scenes, such as Gunsight Mountain at Anthony Lakes Mountain Resort, where you can photograph the sharp, craggy peaks rising up out of the snowy landscape.
There is another valuable tool for high-contrast scenes, high dynamic range. This tool allows cameras to capture detail in both highlights and shadows. Both Apple and Samsung smartphones have a way of turning on HDR in the settings. With HDR on, you can capture a more evenly exposed image.
Making Winter Photos Pop With Editing
Once you have captured your image, you can begin fine-tuning it. Most smartphones now include sophisticated built-in photo-editing tools. Check out guides to the built-in apps — both iOS and Android devices have great tips. For more robust photo editing, explore independent phone apps such as Adobe Lightroom, Instasize and Snapseed.
To get started, here are a few editing tips. Increase exposure for snowy scenes that were taken during cloudy days to make the snow more brilliant. (See these links for iOS and Android devices if you’re unsure how to change exposure levels.)
Instead of increasing the overall color saturation, which intensifies all colors within a photo, consider adjusting vibrance only, or increasing the saturation of certain colors such as the green on a conifer at a place like Horseshoe Prairie Nordic Ski Area. Don’t be afraid to play with color tones; greens, blues and reds will make winter photography pop.
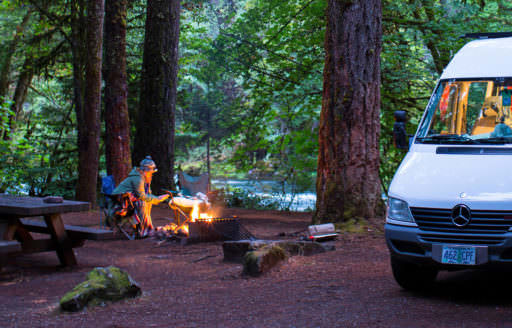
For moodier images, increase shadows, and for more airy photos, increase highlights to amplify bright colors. Increase warmth for sunny photos to invoke a cozy feeling, and decrease warmth for cooler, cloudier scenes. Intimate forest compositions, such as those found at Emigrant Springs State Heritage Area, are perfect for capturing a quiet, wooded scene.
Most importantly, keep in mind that photography is an art, and after learning to capture and edit photos, you will develop your own stylistic preferences.
If You Go:
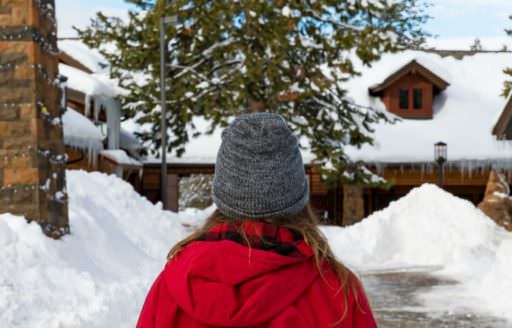
Always keep in mind winter safety. When embarking on any wintertime adventure, take extra precautions to ensure that you and your photos make it home safely. In addition to winter recreation safety tips, pack your vehicle with any required winter tires or chains plus emergency food, water and blankets. Also consider a portable power bank for your phone, as use in cold conditions can quickly discharge the battery.